
Server-side purchases in your shop in 30 minutes: an 8-step checklist
How to set up the Conversions API in your shop step by step: account, shop, Meta receiver, test event, balance, consent, GA4, TikTok, self-check. A timed checklist.
On this page
- Step 1: account and Getting started (3 minutes)
- Step 2: connect the shop (7 minutes)
- Step 3: add a Meta receiver (5 minutes)
- Step 4: the test event (3 minutes)
- Step 5: switch on purchase forwarding (3 minutes)
- Step 6: purchase balance (2 minutes now, 5 minutes in a few hours)
- Step 7: consent and the shop script (5 minutes)
- Step 8: GA4, TikTok and Self-check (5 minutes)
- Checklist to print
- What this setup does not solve
- Next step
- Sources
Key facts (as of 2026-10-29)
- The setup is eight steps; about 30 minutes assumes ready access to the shop and to Meta.
- The test event sends the shop's newest event once, with a test code; nothing enters the queue, and the limit is 10 per hour per receiver.
- Meta accepts events whose time is at most 7 days old, so gaps are worth catching early.
- This list covers purchases from the order. The Pixel stays a separate decision: a shared event identifier or one route per event.
- Meta accepting an event is not proof of optimisation or of the purchase being attributed to an ad.
The list below takes you from zero to the first purchase accepted by Meta. The time at each step is an estimate for a shop where you already have access to the platform admin and to your Meta account. If some access is missing, getting it takes longest, not the clicking. What the Conversions API is and why a purchase is worth sending from the server is explained in Meta Conversions API: what it is.
Step 1: account and Getting started (3 minutes)
Create an account and enter your organisation. The Getting started page is a checklist read from your data, nothing is ticked by hand. The steps: Connect a shop, Add a Meta receiver, Switch on purchase forwarding, Create a product feed, Read Meta campaigns and, optionally, Other platforms. Each has a button that opens exactly the place where it is done. This article needs the first three.
Step 2: connect the shop (7 minutes)
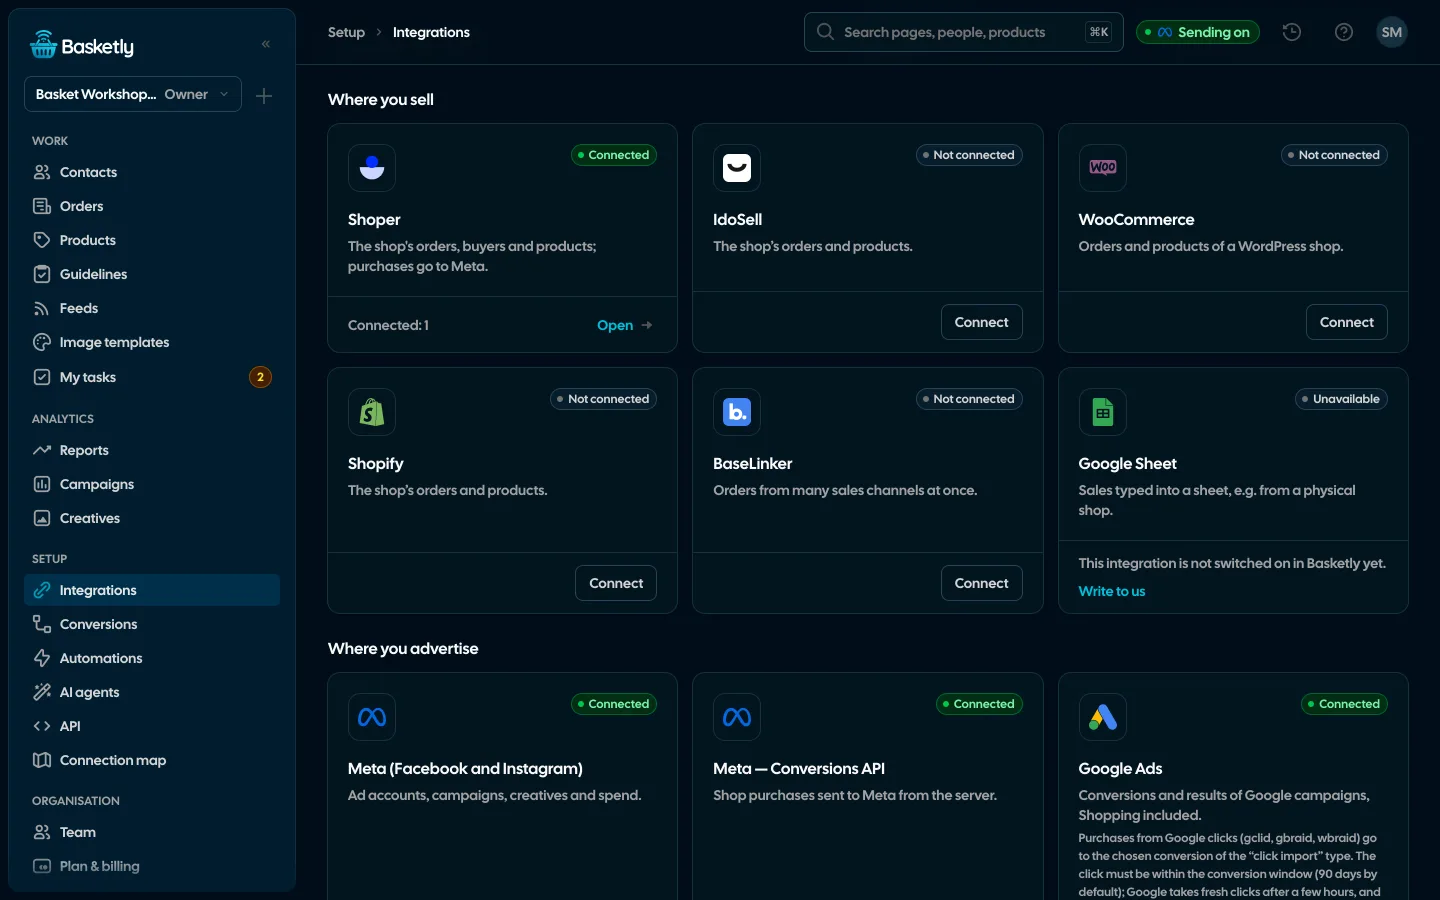
In Integrations → Data sources → Add source choose the platform: Shoper, IdoSell, BaseLinker, WooCommerce or Shopify. You need the shop's API access:
- Shoper: an API user's login and password; Basketly creates a webhook in the shop and reads orders every 15 minutes.
- IdoSell: an Admin API key (in the shop admin: Administracja → API → Klucze dostępowe do API Admin).
- BaseLinker: an API token (My account → API).
- WooCommerce: a REST API key (Consumer key and Consumer secret).
- Shopify: the
*.myshopify.comaddress and the token of a custom app with permission to read orders and products.
After you save, Basketly checks the access, then reads the orders of the last 24 months in the background (none of them goes to Meta as a purchase). During the connection mark which statuses you count as a purchase besides "paid" (e.g. cash on delivery). Shoper details: Shoper and Meta Conversions API; how to choose where to start: shop integrations.
Check: the Orders page shows your orders. If it is empty after a quarter of an hour, look at the connection state on the source.
Step 3: add a Meta receiver (5 minutes)
In Integrations → Meta datasets add the dataset purchases should go to. Two ways:
- through Meta login (recommended; the receiver then sends with that login), or
- manually: the dataset ID and a token from Events Manager.
At the start leave the receiver in test mode. Events then go with a test code and do not feed campaigns. A Meta login expires and has to be renewed; Self-check warns 7 days before it expires.
Step 4: the test event (3 minutes)
In Meta's Events Manager open your dataset and the Test Events window. Meta explains that the test code is sent along with the events and has to be removed for production. In Basketly use Test event at the receiver, enter the code and send.
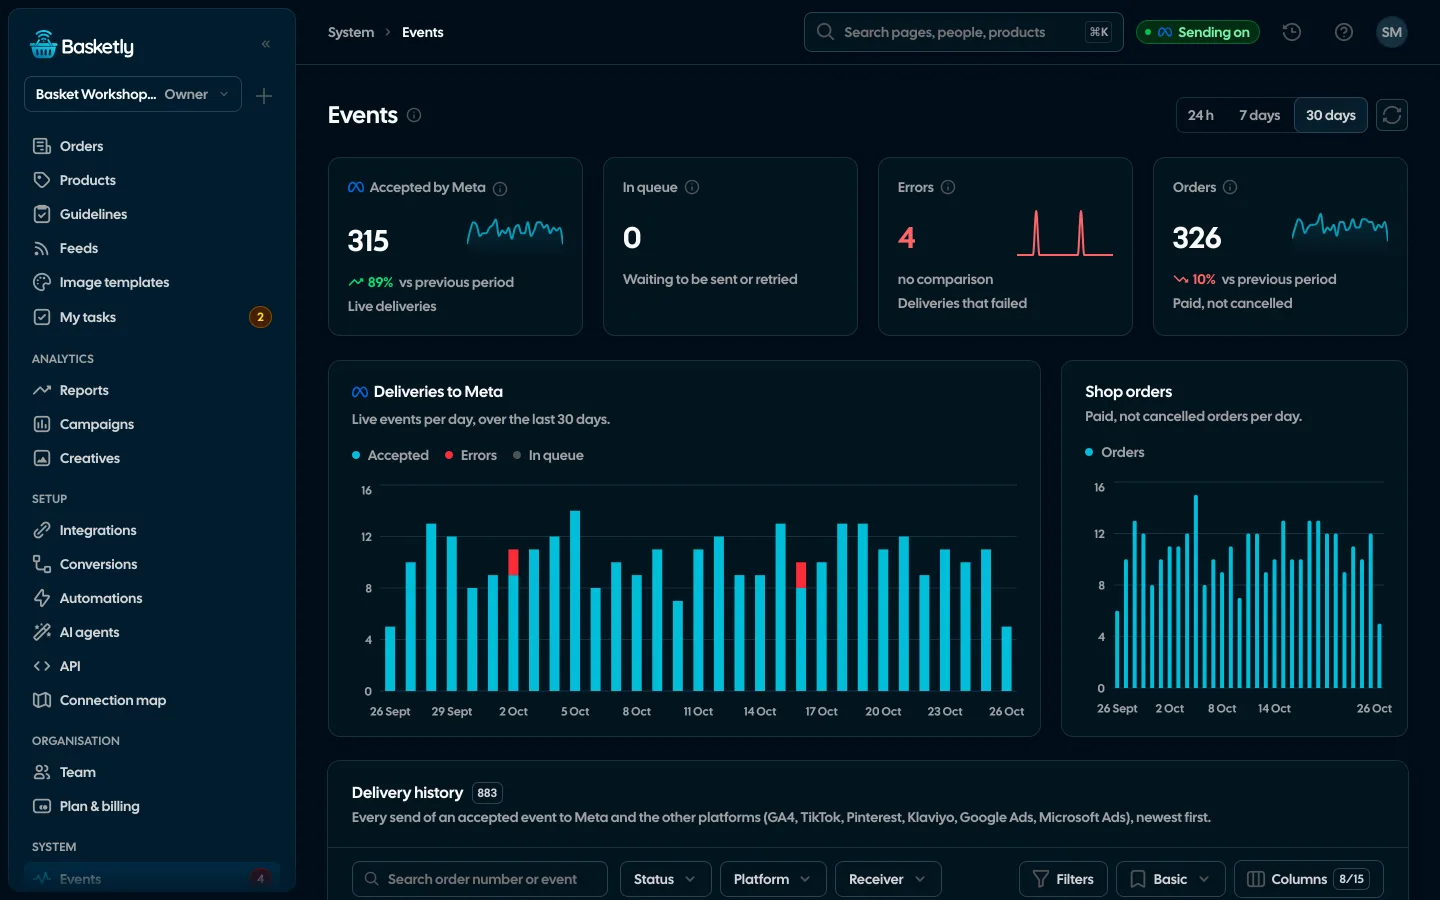
What happens: Basketly sends once the newest shop event, with a fresh identifier, the current time and your code. Nothing is stored in the queue. The limit is 10 sends per hour per receiver. A refusal usually means sending is switched off on the server (you will see "Sending off" in the top bar) or the shop had no event yet.
Check: the event is visible in the Test Events window in Events Manager.
Step 5: switch on purchase forwarding (3 minutes)
In Conversions create a flow from the shop to the receiver: a purchase maps to the Purchase event. If the source or the dataset is missing, the "Create flow" button suggests what to add. When tests look fine, switch the receiver's test mode off. The switch is blocked while unsent events exist, because test and production have separate deduplication.
From now on every new paid order goes to the queue and is sent with retries (up to 6 attempts), in batches of up to 500 events per request.
Step 6: purchase balance (2 minutes now, 5 minutes in a few hours)
After a few hours return to Conversions → Purchase balance and choose 7 days. Compare the shop orders tile with the accepted purchases tile and with the Meta receiver's tile. The rules for reading differences are in the purchase balance article. Remember: "accepted" means Meta confirmed receipt, not that it attributed the purchase to an ad.
Step 7: consent and the shop script (5 minutes)
A purchase from the order works without the script. The Basketly script in the shop adds something else: after the customer's consent it records the visit (ad click, campaign parameters) so the purchase can carry browser data and Orders can show a source. The script does nothing until your consent tool calls setConsent(true). Calling linkOrder on the thank-you page ties the order to the visit. The instructions are in the panel at the source. Basketly is not a consent system: assessing the legal requirements is up to you and your lawyer.
The Pixel decision. If the shop runs a Pixel with a purchase, choose: either a shared event identifier (the Pixel's eventID equal to the purchase identifier), or the purchase from the server only and the Pixel for browser events. Without this Meta counts the purchase twice; see Meta counts purchases twice.
Step 8: GA4, TikTok and Self-check (5 minutes)
If you use other platforms:
- GA4: the measurement ID
G-…and a Measurement Protocol secret. Google cannot confirm the secret up front, so the save has the state "not checked". Google also notes that the Measurement Protocol does not return error codes even for a malformed event, so check purchases in GA4 reports. - TikTok: the ad account ID, the Pixel code and a token; Basketly checks them against the account's Pixel list.
Then in Conversions → Other platforms switch on "Send purchases" on each. Details: purchases to GA4 and TikTok from the server.
Finally open System → Self-check and click Check now. It checks seven areas (accounts, sending to Meta, conversions, shops and sheets, background jobs, automations, campaigns) and gives a link to the fix at each finding. In the "Sending to Meta" area it compares your dataset's statistics from Meta with Basketly's sends. The limit is 6 runs per hour.
Check: the result "Everything works" appears only when every area had something to check and nothing failed.
Checklist to print
- Account created, Getting started open (3 min)
- Shop connected, Orders show data (7 min)
- Meta receiver added, test mode (5 min)
- Test event visible in Events Manager (3 min)
- Purchase → Purchase flow on, test mode off (3 min)
- Purchase balance checked after a few hours (5 min)
- Script and consent set, Pixel decision made (5 min)
- GA4 and TikTok (if you use them), Self-check without errors (5 min)
About 30 minutes of continuous work in total, plus a few hours of waiting before step 6.
What this setup does not solve
- Attribution. Meta attributes purchases by its own windows, and Ads Manager will show a different number from the shop. Basketly shows both numbers side by side, it does not equalise them.
- Optimisation. Meta accepting a purchase does not prove the campaign optimises for it.
- The browser Pixel. We do not change it; a purchase from the order is a second, independent route.
- Weaker data without consent. A purchase from the shop's API carries no browser data until the script adds it after consent.
- Old purchases. The 24-month history is read but not sent to Meta.
Next step
Start with steps 1 and 2. To see a finished panel first (Getting started, Purchase balance, Self-check), open the demo. To set it up in your shop, create an account; plan limits are on the pricing page. The full description of sending is on the Meta Conversions API page.
Sources
- Meta for Developers: Using the Conversions API (Test Events,
test_event_codeto be removed in production) - Meta for Developers: Server Event Parameters (event time up to 7 days back,
action_source,event_id) - Meta for Developers: Deduplicate Pixel and Server Events (shared
event_idandevent_name, 48-hour window) - Meta for Developers: Verifying Your Setup (deduplication tab in Events Manager)
- Google Analytics: Validating events (Measurement Protocol) (no error codes for malformed events)
About the author
Aleksander
Founder of Basketly.io, BooksyAudit.pl and SMSPortal.app
Founded Basketly.io, BooksyAudit.pl and SMSPortal.app. In the knowledge base he explains how to send shop purchases to Meta, how to keep a product catalogue in shape and how to measure what a purchase from ads costs.
All articles by the authorFrequently asked questions
How long does setting up server-side purchases really take?
About 30 minutes if you have access to the shop admin (an API key) and to your Meta account, and know whether a Pixel already runs in the shop. It takes longer if you first have to create API access in the shop or get access to the dataset at Meta. Reading the order history (24 months) runs in the background and is not part of the 30 minutes.
Do I need a Pixel for purchases to go from the server?
No. A purchase read from the order is sent from the server without the Pixel. If the shop has a Pixel, make sure of a shared event identifier or switch the purchase off in one channel, otherwise Meta counts the purchase twice.
Does the test event send a real purchase?
No. The test event sends the shop's newest event once, with the test code from Events Manager, and does not store it in the queue. You see it only in Meta's test window.
Why does nothing reach Meta after the setup?
The most common causes: sending is switched off on the server (the top bar shows "Sending off"), the receiver was left in test mode, or there is no flow from the shop to the receiver. Self-check verifies these three after "Check now".
Is customer consent needed to send a purchase?
A purchase read from the order does not need a browser script. The Basketly script in the shop works only after consent and adds browser data (such as an ad click) that helps attribute the purchase. Whether you may send data without consent is for your lawyer to assess; Basketly is not a consent system.
Will the numbers in Meta and in the shop be the same after the setup?
They do not have to be. Meta attributes purchases by attribution windows while the shop counts all orders. The setup makes purchases reach Meta from the server, and the balance shows where they might get lost. The attribution difference stays.